The same six steps every time — for you, your client, and your album designer.
Import the shoot
Open Creator Studio and point it at the folder from your event. Drag the whole thing in — JPG, PNG or WEBP, in any mix.
Everything loads into a searchable grid, sorted by filename, so you can find and check a frame in seconds even in a shoot with a few hundred photos.
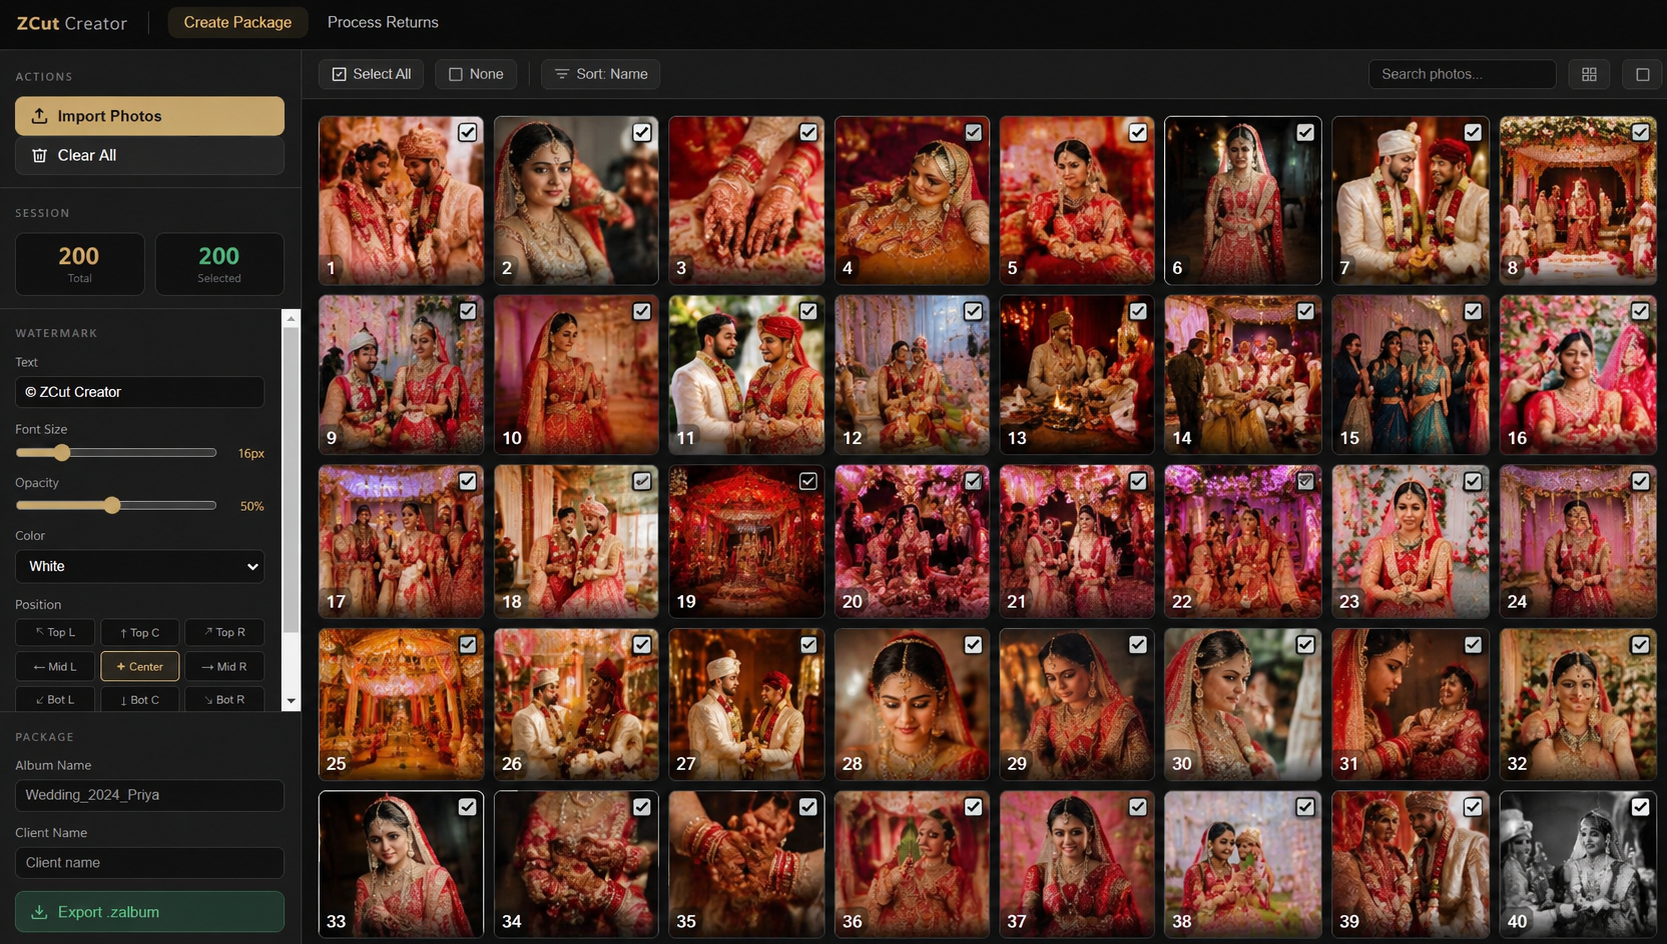
Set the watermark
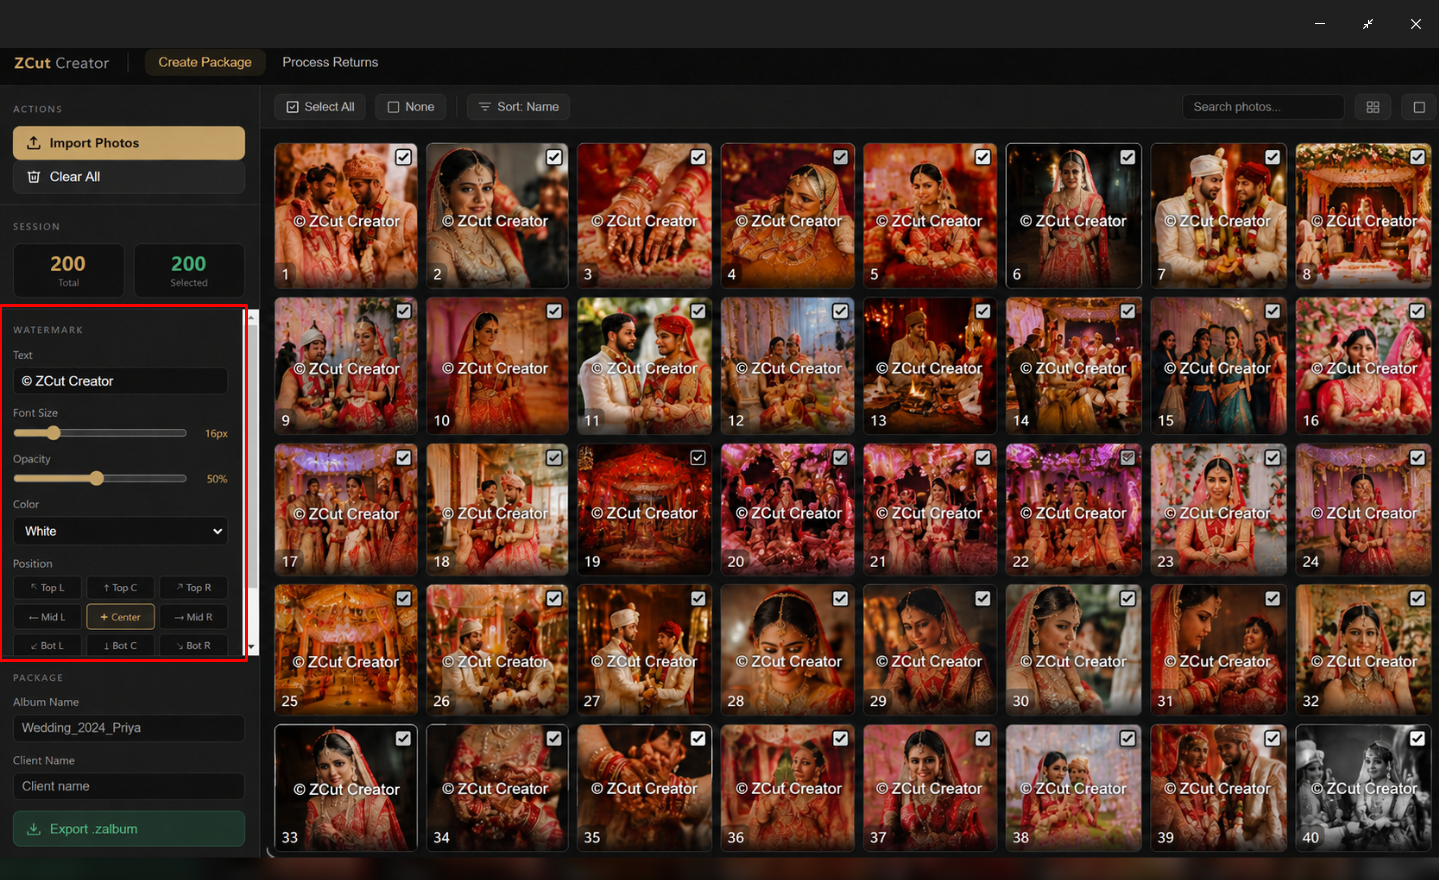
Add your studio's mark and adjust size, opacity and placement until it sits the way you want across a typical frame.
This is a per-project switch — turn it off entirely for shoots that don't need one, without changing your default setup.
Export the package
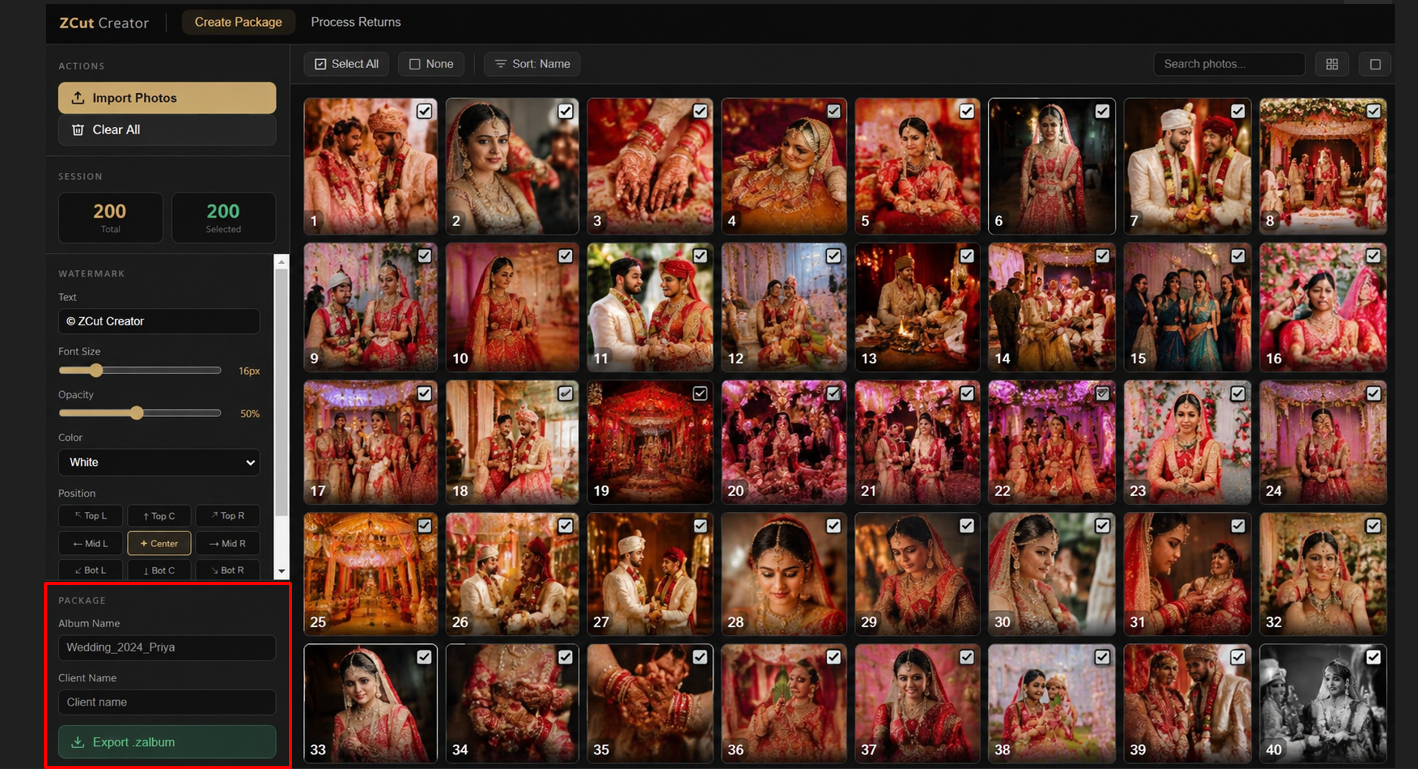
One click bundles the watermarked set into a single .zalbum file — the format your client's app will open.
Name the album whatever helps you find it again later — the couple's name, the event date, whatever fits your naming habit.
Send it over WhatsApp
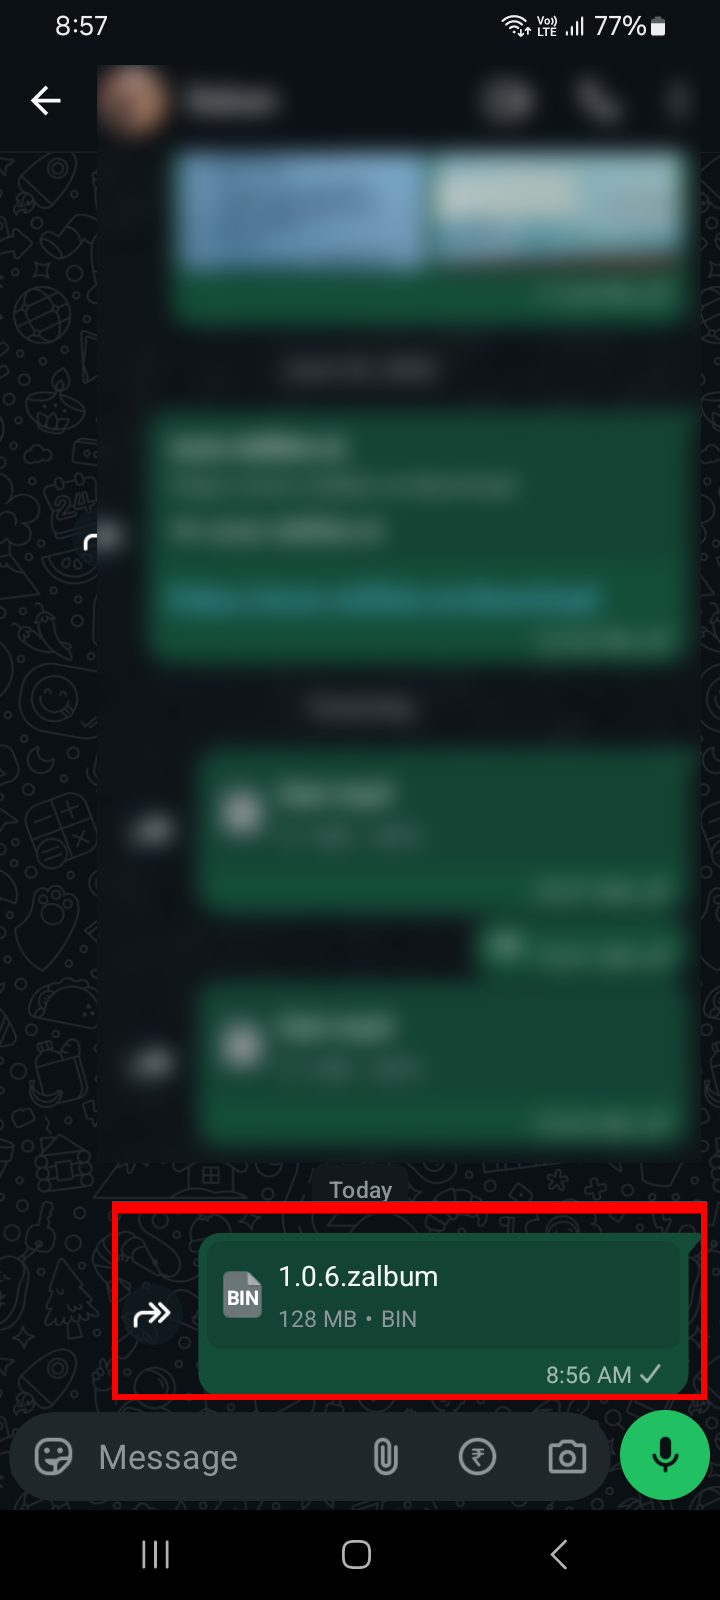
Attach the .zalbum file to a WhatsApp message like you would any document, and send it to your client.
That's the entire delivery step. No separate link, no portal login for them to lose track of.
They select — and leave notes
When your client taps the file, it opens directly in the ZCut Album app if they already have it installed.
If they don't, the tap takes them to install it first — you don't need to send instructions for this, it's built into the file itself.
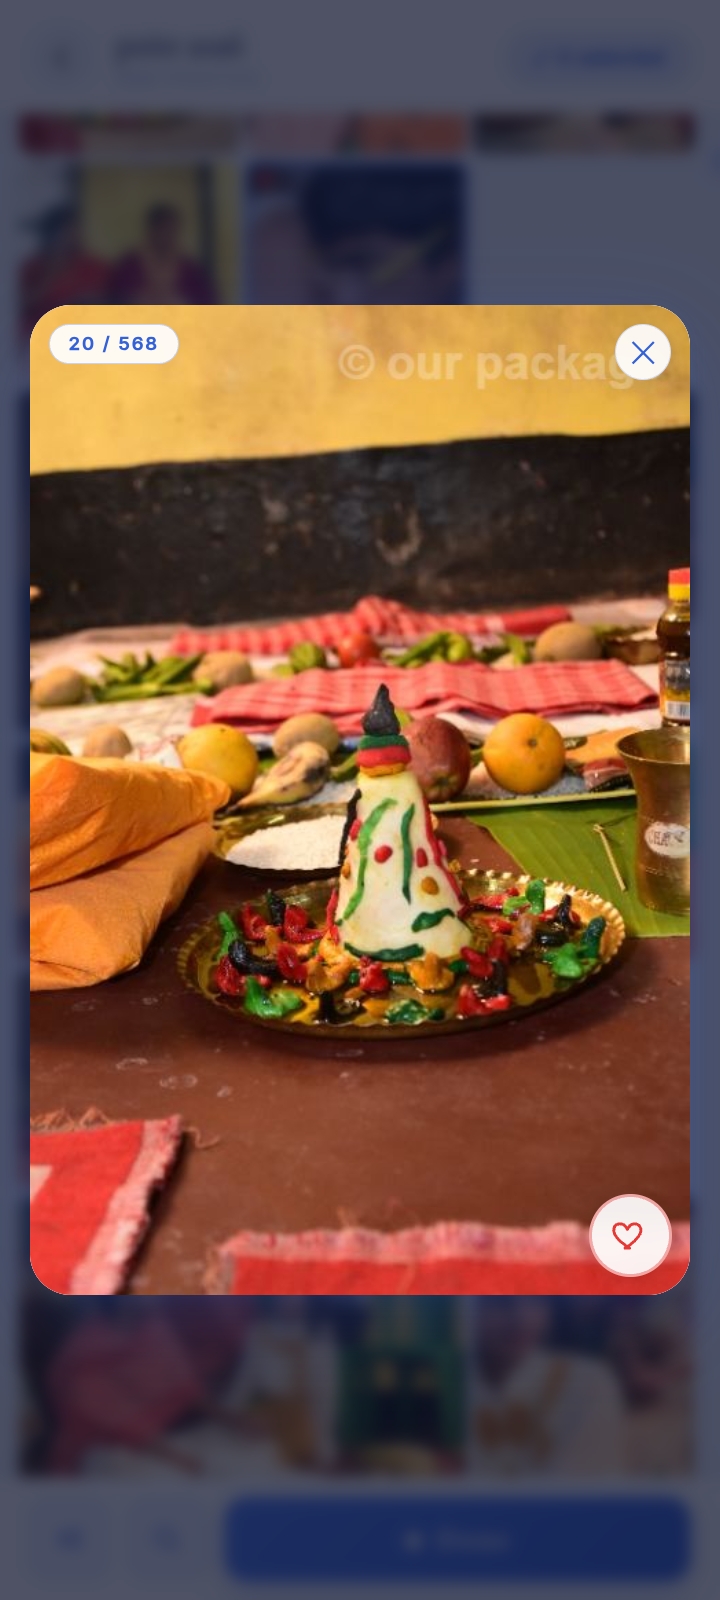
From there, they browse the set and mark their favourites on their own phone, at their own pace — and can leave a short note on any individual photo. That note travels with the photo straight to your album designer, so instructions like "crop tighter here" or "use this one for the cover" don't get lost in a phone call.
Deliver to your designer
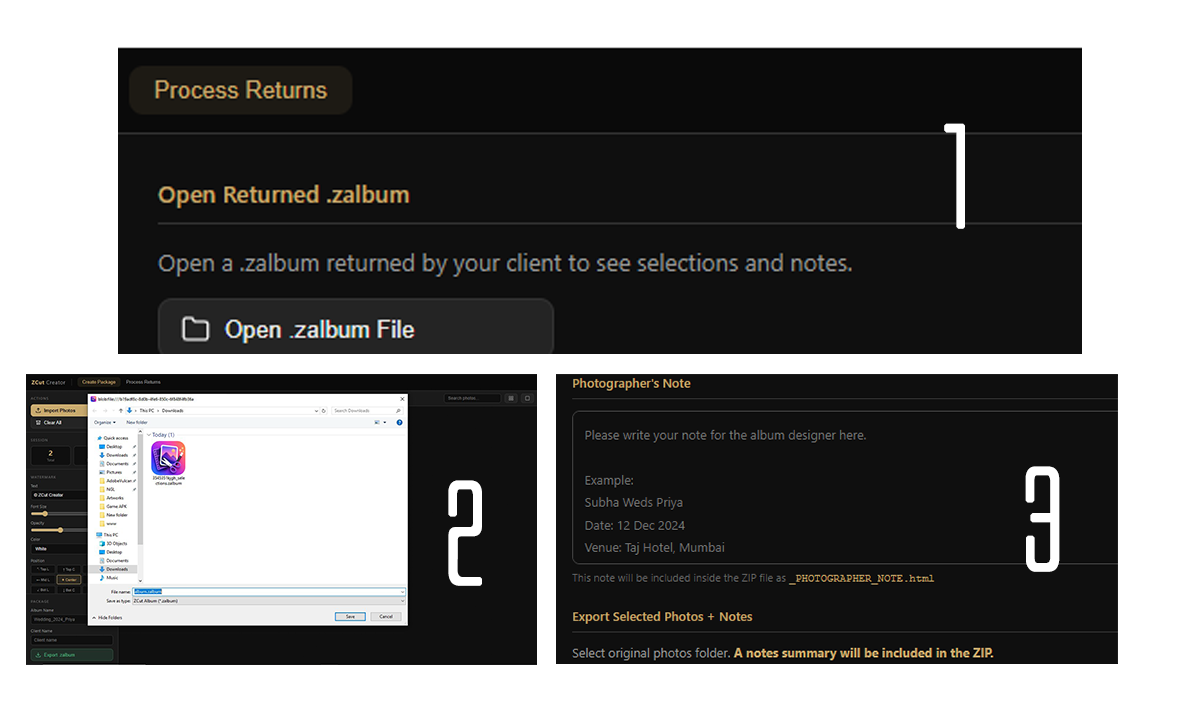
Go to the Process Returns section in Creator Studio and import the .zalbum file your client sent back. You'll instantly see which photos were selected, which ones have a note on them, and how many were picked in total.
This is also where you write your own instructions for the album designer — bride and groom's names, address, or anything else the album needs.
Click Select Original Photo Folder and point it to your RAW + JPG (or just RAW) folder on your drive. Then hit Save Selected + Notes as ZIP — every selected photo and all the notes get bundled into one ZIP file.
Send that ZIP to your album designer however you like — Google Drive, a pen drive, or anything else that works for you.
A different track — no photos or watermarking involved. Point it at a folder of video clips and get a ready-to-post highlight reel out.
Choose Create Reel
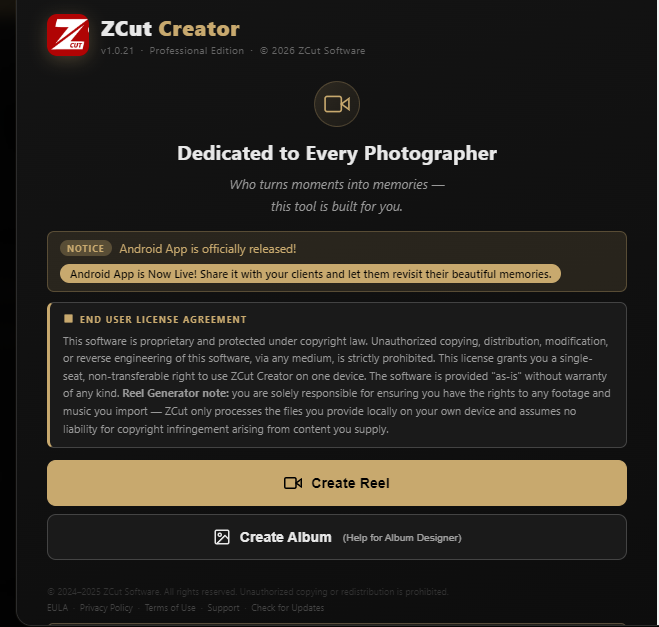
On launch, Creator Studio asks which mode you want. Pick Create Reel instead of Create Album.
This opens a separate workspace built for video — everything from here on is a different screen from the photo workflow.
Load footage, music, length and aspect ratio
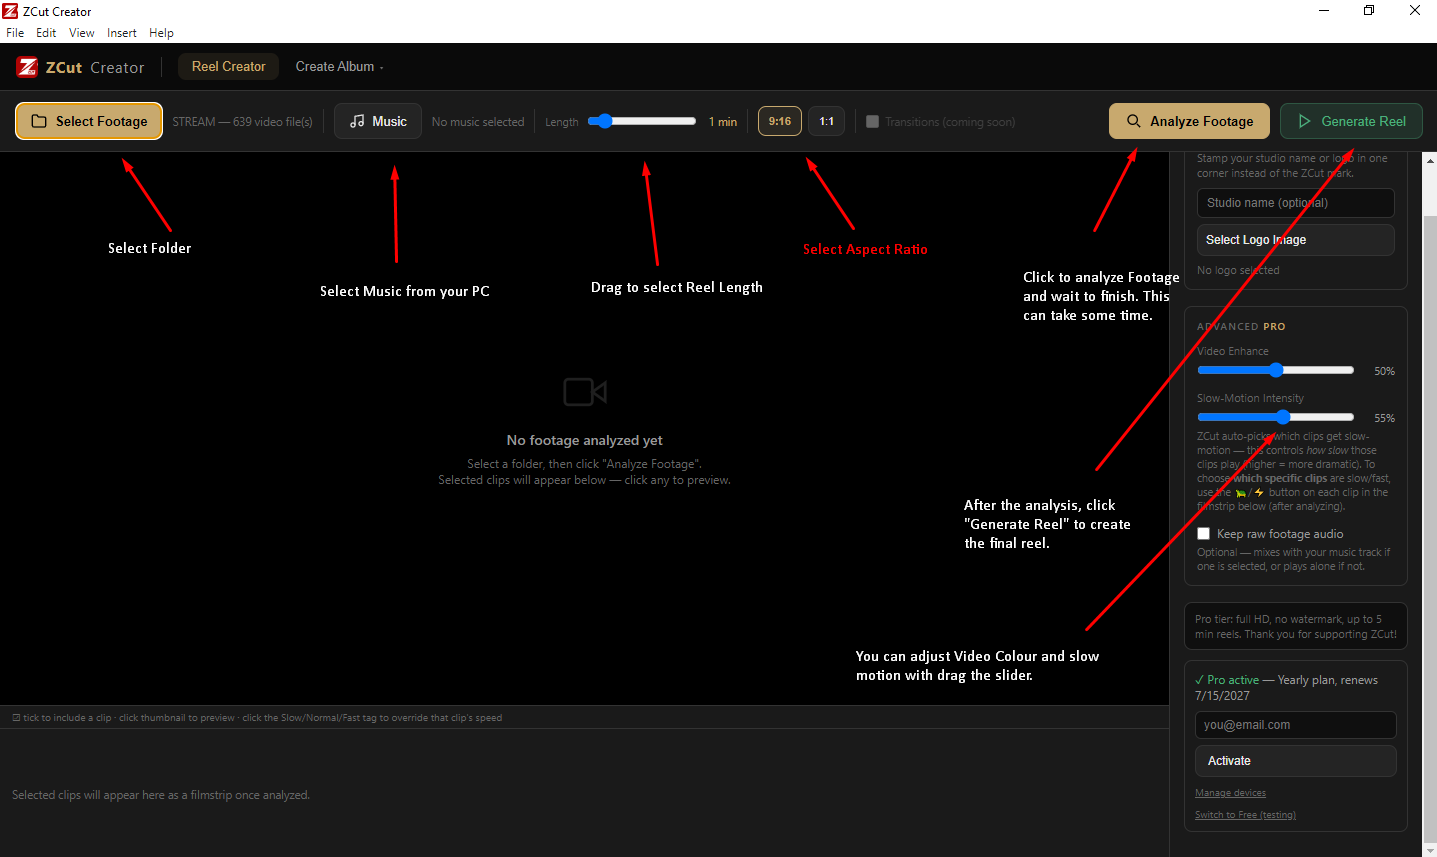
Select Footage to point at your folder of clips — the status bar shows the folder name and how many video files it found.
Music is optional — pick a track and its filename shows in the toolbar. Drag the Length slider to your target duration, then choose 9:16 for Reels/Shorts/Stories or 1:1 for a square feed post.
On the right, Pro users can set a studio name or logo instead of the ZCut mark, and dial in Video Enhance and Slow-Motion Intensity before analyzing.
Analyze, then fine-tune each clip
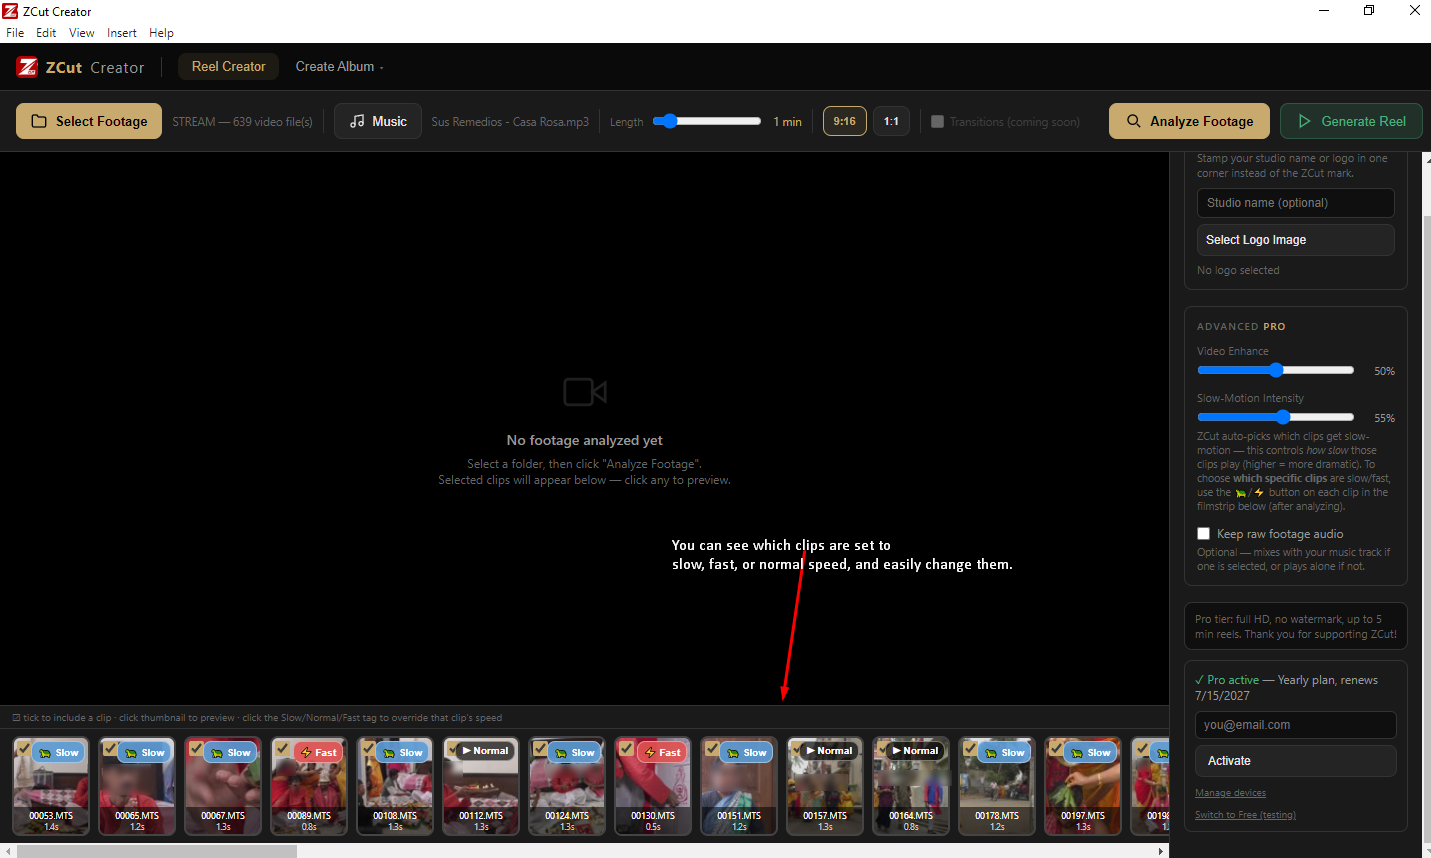
Click Analyze Footage. ZCut scans the folder, picks the best moments, and lays out only the selected clips as a filmstrip under the preview — each one tagged Slow, Fast, or Normal.
Click a thumbnail to preview it, untick its checkbox to drop it from the reel, or click its speed tag to override what ZCut picked for that clip.
Generate the reel
Once the cut looks right, click Generate Reel. Progress shows in the bar above the preview.
When it's done, hit Open File on the success popup to jump straight to the finished video — ready to post.